Getting Started: Import Your First Bank Statement into Tally
This walkthrough takes you from sign-up to posted Tally vouchers in about five minutes — with a screenshot of every screen. You'll import a bank statement, but the same flow works for sales, purchases, journals and GST files.
1. Create your free account
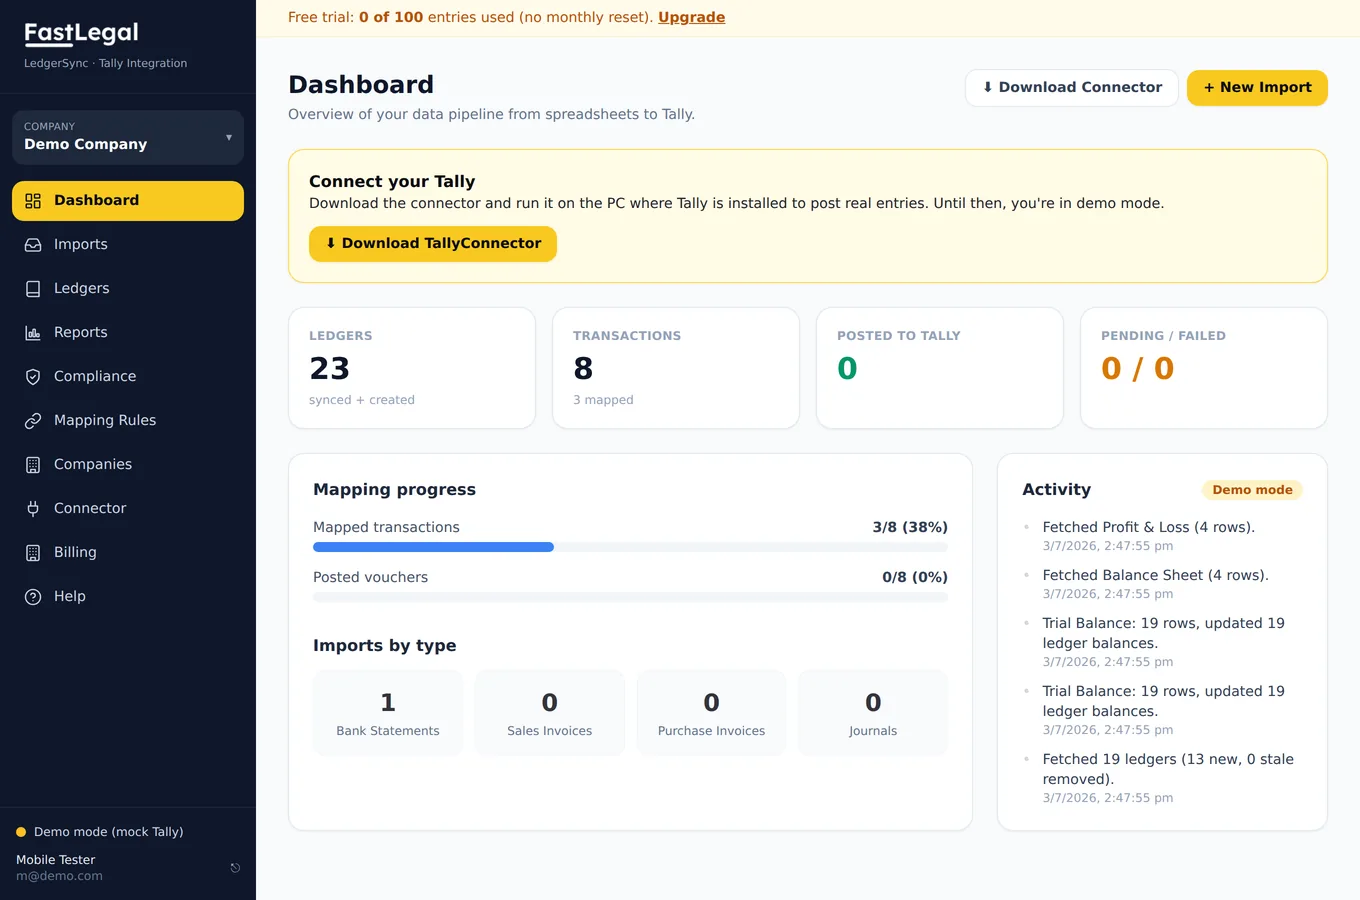
Go to ledger.fastlegal.in and create an account with your email. The free trial includes 100 entries with no monthly reset — use them whenever you like. After signing in you land on the dashboard, which is your pipeline at a glance.
2. Connect your Tally
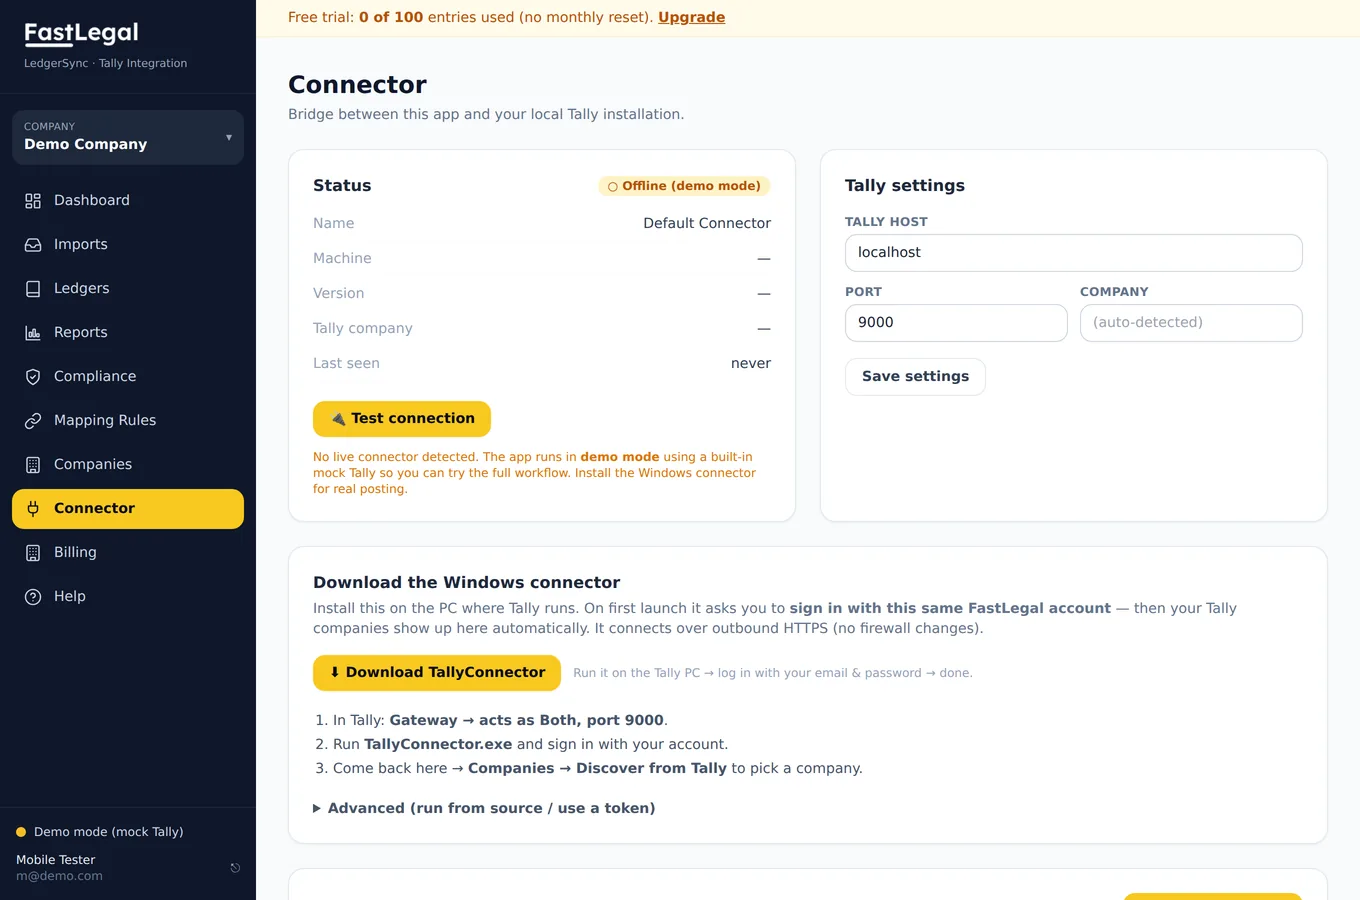
Open Connector from the sidebar and click Download TallyConnector. Copy the file to the PC where Tally runs, launch it, and sign in with the same account. The connector talks to Tally on localhost:9000 and calls the cloud over an outbound HTTPS connection — so there are no ports to open and your books never leave your machine.
3. Upload your bank statement
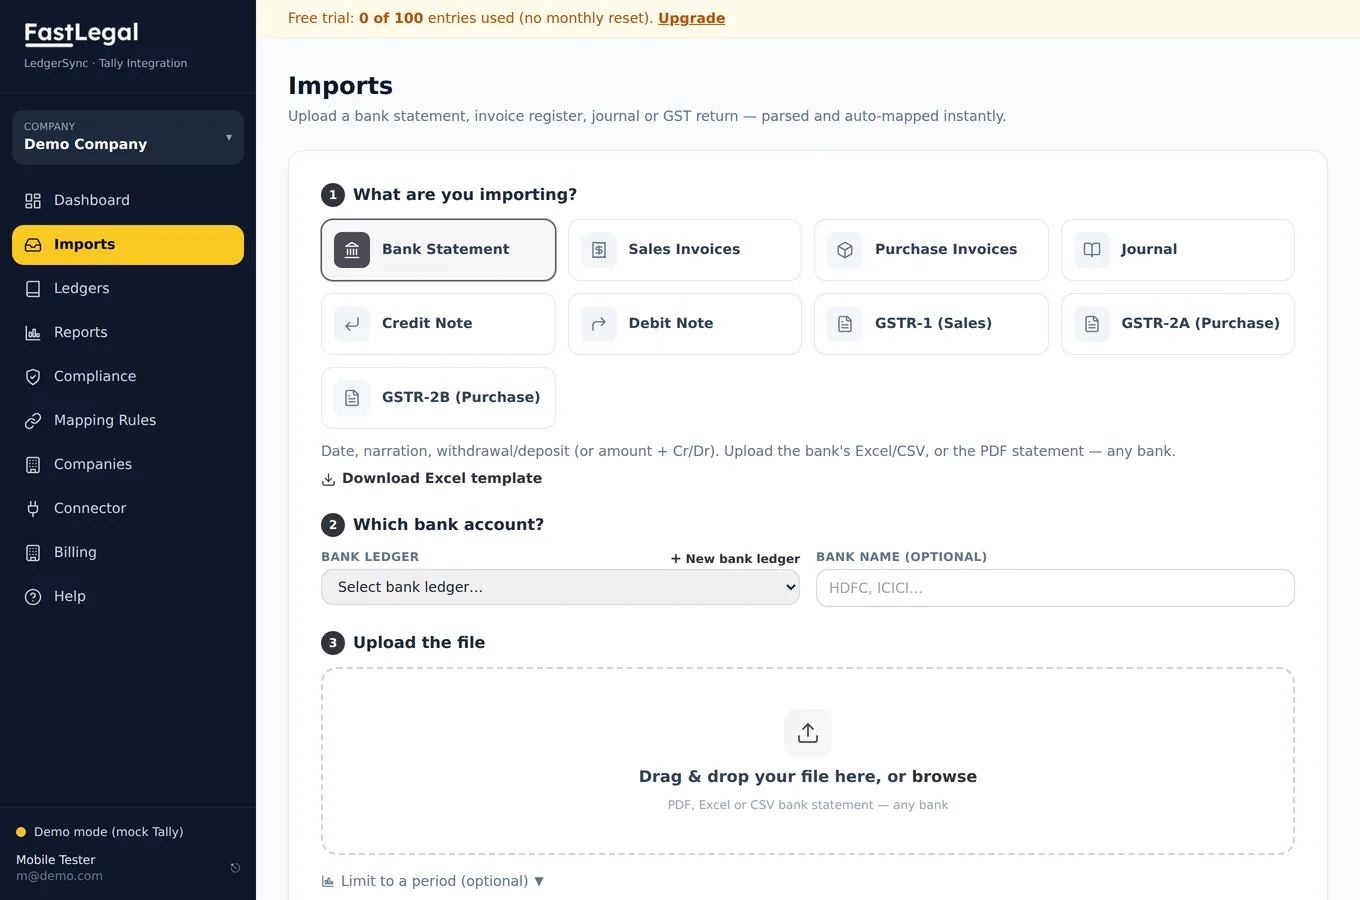
Go to Imports. Pick Bank Statement as the type, choose (or create) the bank ledger the statement belongs to, then drag in the file. LedgerSync accepts the PDF from net banking or the Excel/CSV export from any Indian bank — dates, narrations and withdrawals/deposits are detected automatically.
4. Review and map ledgers
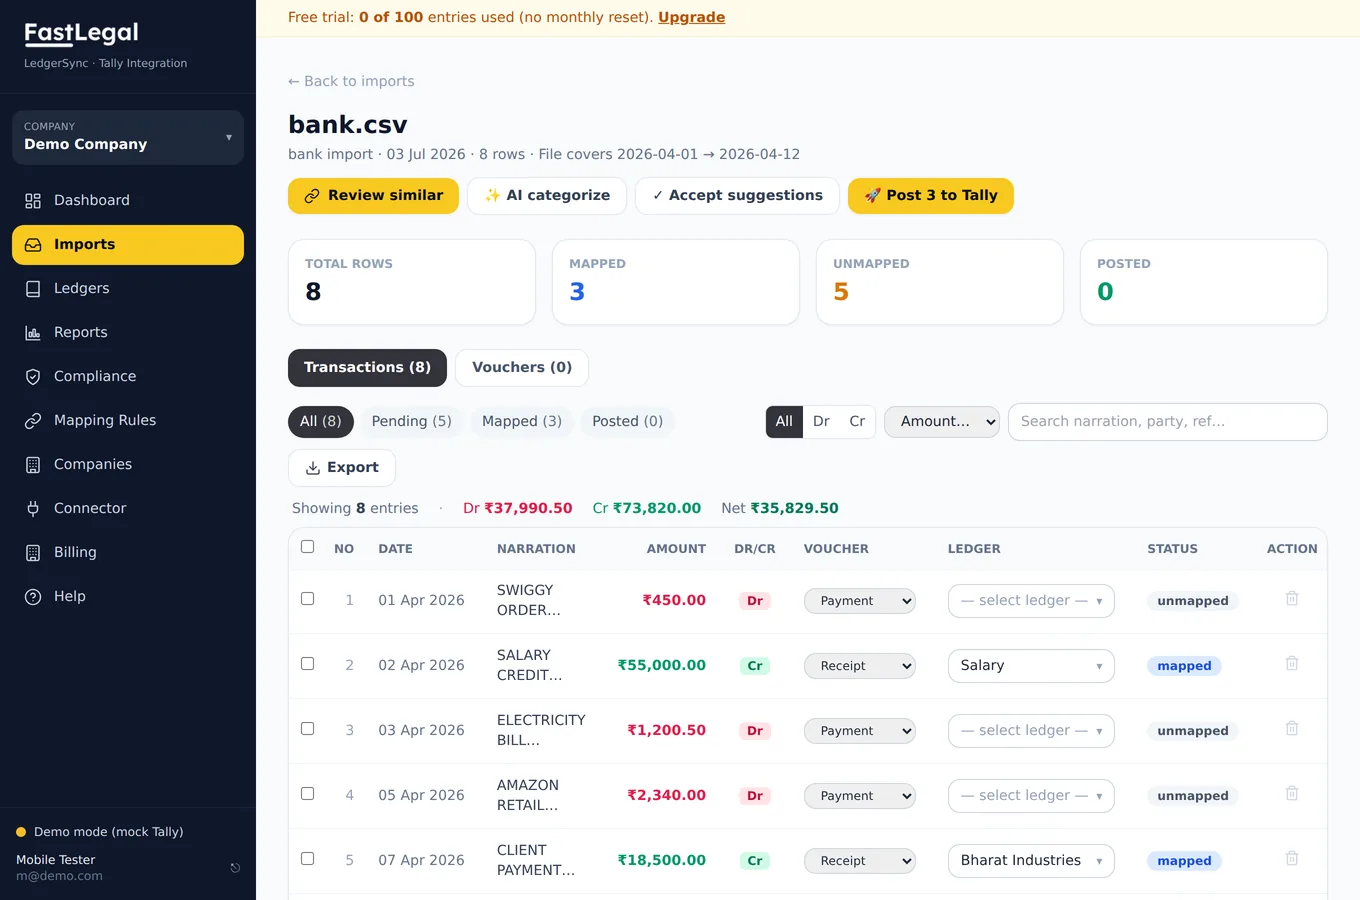
After parsing you'll see every transaction with a suggested ledger. Confirm the good ones, correct any that are off, and use Review similar to map a whole group of recurring narrations (UPI payees, EMIs, salaries) in a single click. Mapping rules learn from your choices, so next month's statement is even faster. The running-balance reconciliation banner confirms every line was captured.
5. Post to Tally
When the batch looks right, click Post to Tally. LedgerSync builds standard vouchers (Receipt, Payment, Sales, Purchase, Journal, Contra) and the connector writes them into your Tally company. Posted rows turn green; if Tally rejects one, you'll see the exact reason in plain English with a one-click fix (for example, “create the missing ledger and retry”).
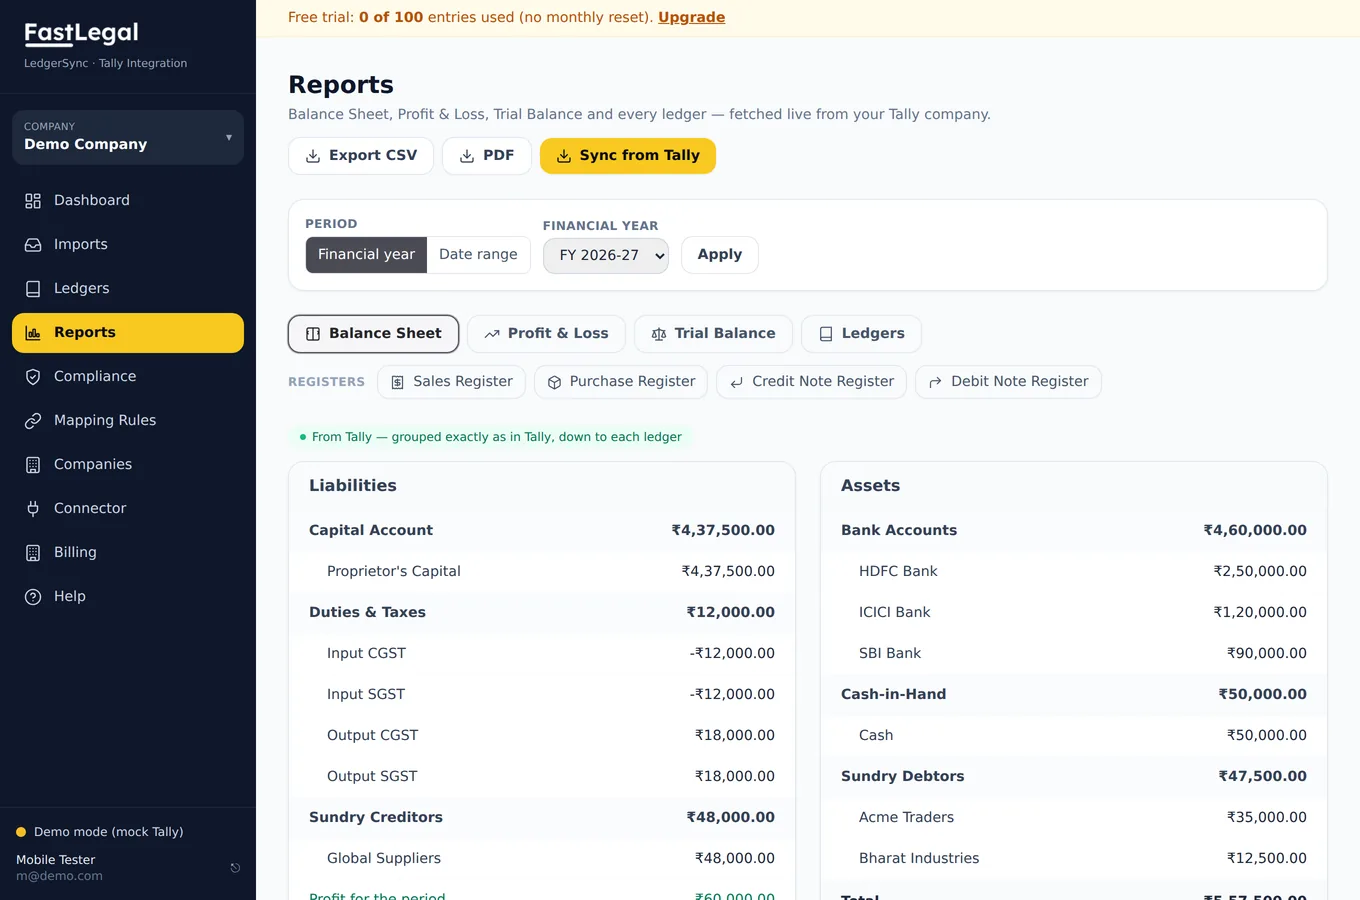
6. Check your books
Open Reports to pull the Balance Sheet, Profit & Loss or Trial Balance live from Tally — grouped exactly as Tally groups them — so you can confirm the import landed correctly.
What next?
- Connecting TallyPrime with the connector — the detailed connector setup.
- Mapping transactions to ledgers — rules, AI and bulk mapping.
- Importing GSTR-1 / 2A / 2B — GST portal files to Tally.
- Troubleshooting — if the connector won't come online or a voucher fails.